Discover why proper subfloor preparation determines whether your new flooring lasts decades or fails within years.
Share:

Summary:
Think of your subfloor as the foundation for everything that comes next. Just like you wouldn’t build a house on uneven, wet, or damaged ground, you can’t install quality flooring over a subfloor that hasn’t been properly prepared.
Most flooring failures trace back to subfloor issues that were ignored during installation. Moisture problems cause warping and mold. Uneven surfaces create stress points that lead to cracks and gaps. Structural damage gets worse over time, taking your beautiful new floors with it.
The preparation phase is where experienced contractors separate themselves from the rush-job crowd. It’s also where you can spot who’s really looking out for your long-term satisfaction versus who’s just trying to get in and out quickly.
Here in Texas, moisture is your flooring’s biggest enemy. Our humidity levels and occasional foundation movement create the perfect storm for moisture-related flooring disasters.
Professional moisture testing should happen before any other preparation work begins. This isn’t just running a basic meter over the surface. Proper testing involves checking moisture levels at multiple depths, testing for vapor transmission rates, and identifying any sources of ongoing moisture intrusion.
You’ll want to see relative humidity readings below 60% for most flooring types, though some materials have stricter requirements. If moisture levels are too high, the installation stops until the problem gets resolved. This might mean improving ventilation, addressing plumbing leaks, or installing vapor barriers.
Don’t let anyone talk you into “it’ll probably be fine” when it comes to moisture. The few extra days spent getting moisture levels right can save you from having to tear everything out and start over when your floors start buckling or developing mold issues six months later.
In Collin County’s climate, we also see seasonal moisture fluctuations that need to be factored into the preparation process. What looks dry in winter might have serious moisture issues come summer humidity season.
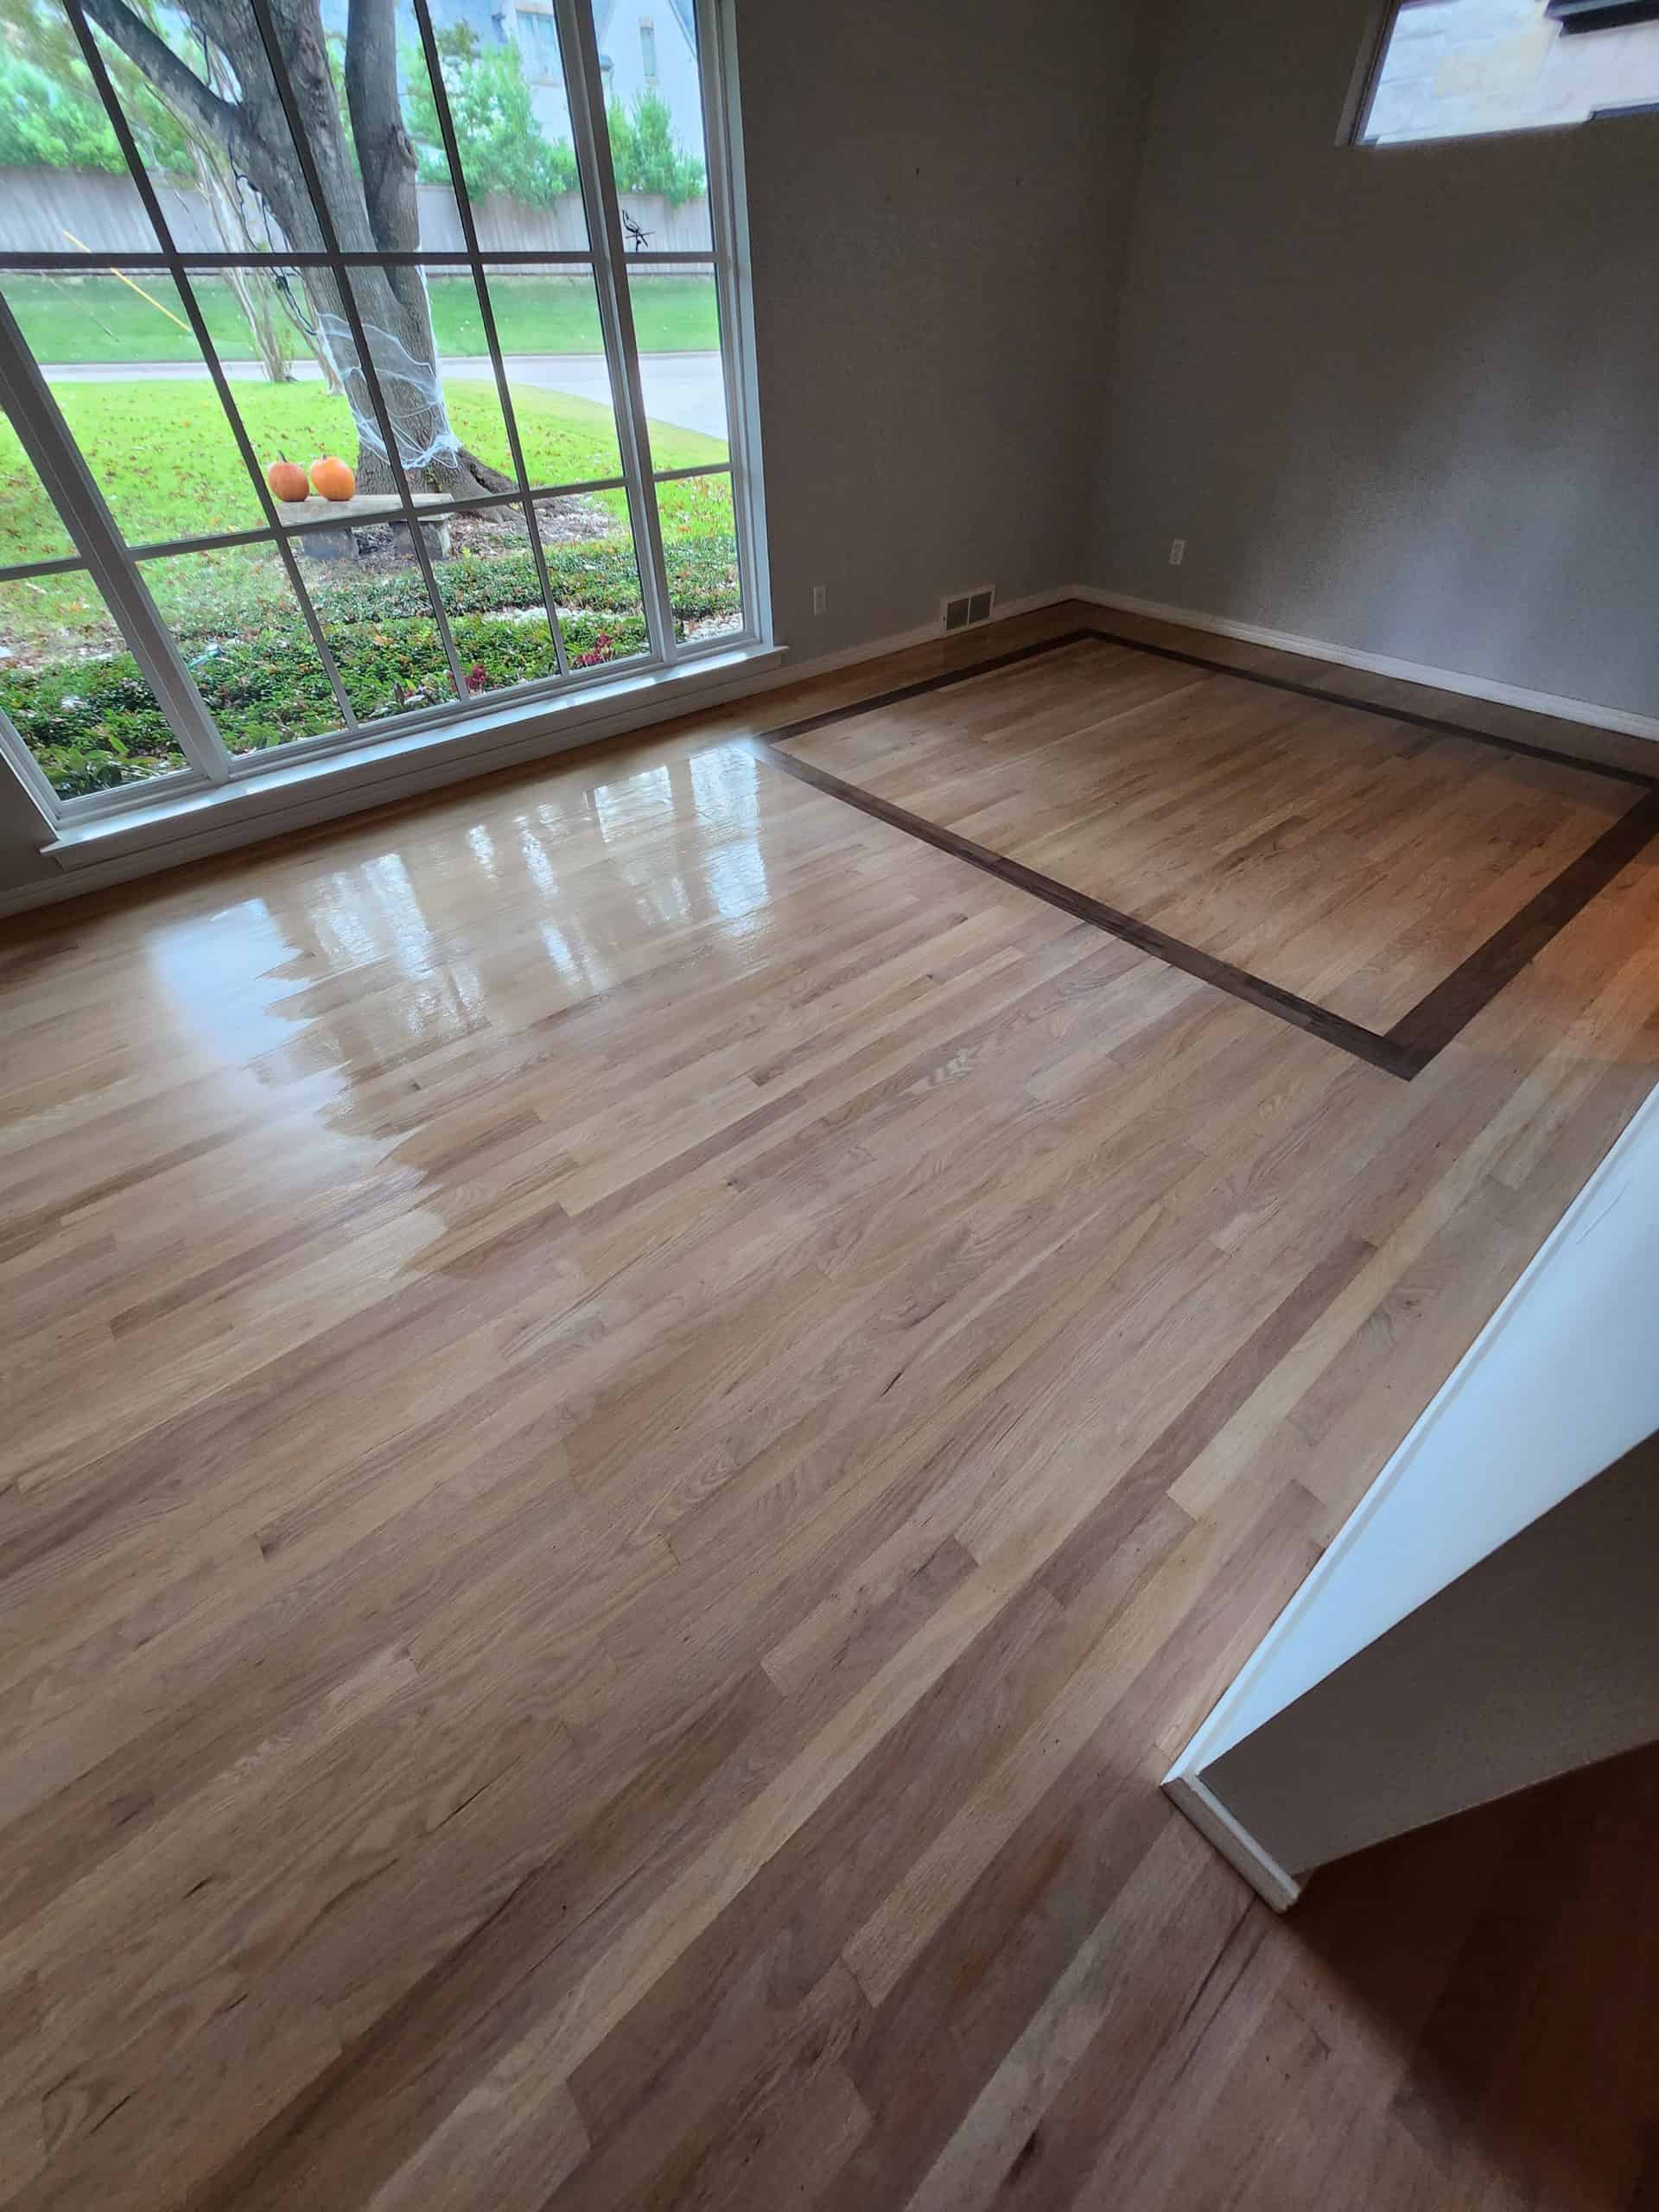
Once moisture and structural issues are resolved, the focus shifts to creating a perfectly level, smooth surface for your new flooring. This is where the real craftsmanship shows.
Different flooring types have different tolerance levels for subfloor imperfections. Luxury vinyl might handle minor irregularities that would cause major problems for hardwood or tile installations. But regardless of your flooring choice, proper leveling prevents a host of future issues.
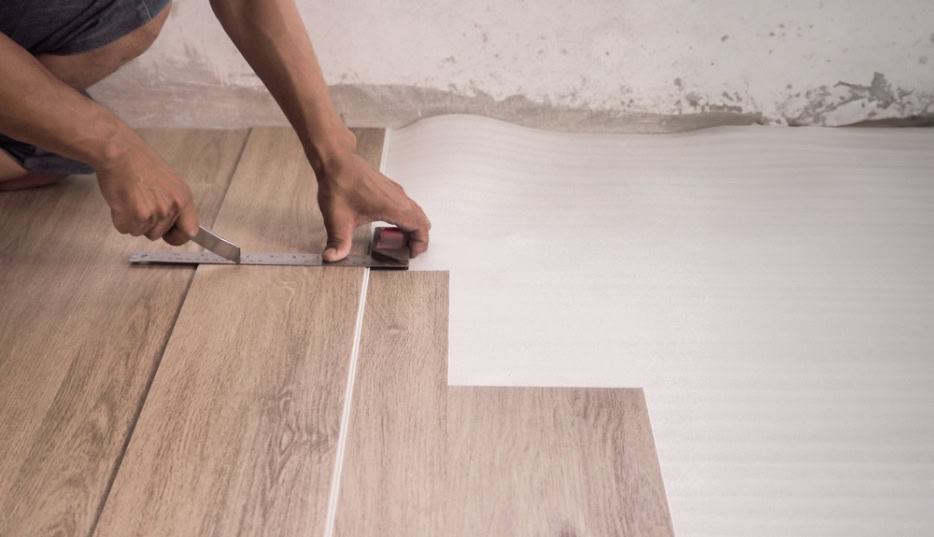
The leveling process involves much more than just sanding down high spots. Professional preparation includes filling low areas, grinding down ridges, and creating consistent transitions between different subfloor materials.
Self-leveling compounds are one of the most effective tools for addressing subfloor irregularities, but they’re not a magic solution for every situation. Knowing when and how to use them properly separates professional installations from amateur attempts.
These compounds work best for correcting minor to moderate-level variations across large areas. They’re particularly useful when you’re transitioning from one type of subfloor material to another or when you’re dealing with concrete slabs that have settled unevenly over time.
The application process requires careful preparation of the existing subfloor surface. Any loose material, adhesive residue, or contaminants must be completely removed first. The subfloor also needs to be properly primed to confirm the self-leveling compound bonds correctly.
Temperature and humidity conditions during application are critical. Apply these compounds when conditions are too hot, too cold, or too humid, and you’ll end up with poor adhesion, cracking, or extended cure times that delay your entire project timeline.
Professional application also involves understanding how different compounds perform with different flooring types . Some self-leveling products aren’t compatible with certain adhesives or underlayment systems. Using the wrong combination can void flooring warranties or create long-term performance issues.
The final preparation steps might seem minor, but they’re crucial for proper flooring installation. Every bit of dust, debris, or residue left on the subfloor can interfere with adhesive bonding or create imperfections that telegraph through your finished flooring.
Professional cleaning goes beyond just sweeping and vacuuming. It involves removing all traces of previous flooring materials, adhesives, paint drips, and construction debris. Some situations require chemical strippers or specialized grinding equipment to get surfaces truly clean.
Pay particular attention to areas around walls and in corners where debris tends to accumulate. These spots often get overlooked during rushed preparation, but they’re exactly where you’ll notice problems once your flooring installation is complete.
The final inspection should include checking that all electrical and plumbing rough-ins are complete and properly protected. Nothing’s more frustrating than discovering mid-installation that additional trades work needs to happen, requiring you to tear up freshly prepared subfloors.
Humidity and temperature conditions need to be stabilized before flooring installation begins. Your HVAC system should be operational and maintaining the conditions that will exist once you’re living with your new floors. This allows both the subfloor and flooring materials to acclimate properly.
Proper subfloor preparation isn’t where you want to cut corners or take chances. The few hundred dollars you might save by skipping steps or hiring inexperienced contractors can easily turn into thousands in repair costs down the road.
Look for contractors who can explain exactly what preparation work your specific situation requires and why each step matters. We should be willing to document the process with photos and provide written warranties covering both our preparation work and the flooring installation.
When you’re ready to move forward with professional flooring installation that starts with proper subfloor preparation, we at Flooring Solutions and More bring the expertise and attention to detail that protect your investment for years to come.
Article details:
Share:
Continue learning:
Flooring Solutions and More
Company
Support
Useful Links