Vinyl Flooring in Valdasta, TX

Floors That Actually Last in Texas Heat

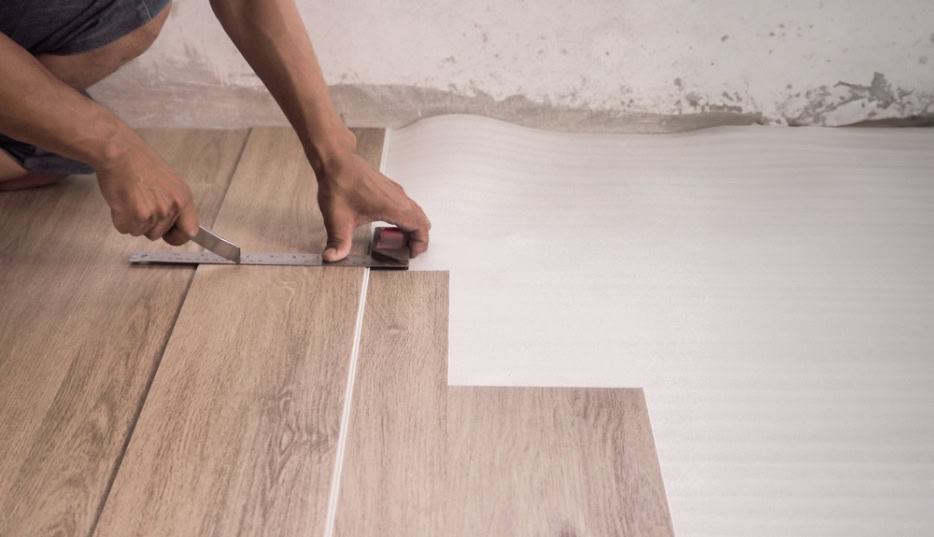
Professional vinyl flooring installation that handles humidity, kids, pets, and whatever else life throws at it.

A person kneeling on the floor installs dark wood-look vinyl planks, carefully placing one plank next to another on a light-colored subfloor.

Hear from Our Customers

A worker in overalls and a cap installs a wood-look laminate flooring plank in a room. Tools including a tape measure and mallet are on the floor nearby.

Professional Vinyl Flooring Installation

What You Get With Proper Installation

Your vinyl flooring should look as good in five years as it does on day one. That happens when the subfloor is prepped correctly, seams are sealed tight, and every plank locks into place exactly right.

You won’t deal with gaps that collect dirt or edges that curl up in Texas heat. No squeaks when you walk across the room. No premature wear patterns that make your floors look cheap.

Just smooth, durable flooring that handles whatever your family dishes out. Spills wipe up easily. Scratches from furniture and pet claws don’t show. And when company comes over, your floors actually look like something you’re proud of.

Valdasta Flooring Installation Services

We Know Texas Floors and Valdasta Homes

We’ve been installing vinyl flooring in Valdasta homes for years. We understand how Texas humidity affects subfloors and which vinyl products actually hold up in this climate.

Most flooring problems start with shortcuts during installation. We don’t take those shortcuts. Every job gets proper moisture testing, subfloor leveling, and acclimation time before we install a single plank.

You’re working with licensed, insured professionals who show up when scheduled and finish when promised. No surprises, no excuses, no coming back to fix problems that shouldn’t have happened in the first place.

A person measures and marks laminate flooring with a ruler and pencil, preparing to cut the plank. The floor has a wood-like finish, and a white underlayment is partially visible beneath the planks.

Vinyl Flooring Installation Process

Here's Exactly What Happens During Installation

First, we evaluate your existing subfloor for moisture, level, and structural soundness. This step prevents 90% of future flooring problems, so we never skip it. If repairs are needed, we handle them before moving forward.

Next, we prepare the space by removing furniture and old flooring materials. Your vinyl planks acclimate to room temperature while we clean and level the subfloor. Proper prep work takes time, but it’s what separates professional installation from DIY disasters.

Installation starts with precise measurements and layout planning. We install each plank with proper expansion gaps and secure seams. Final steps include trim work, cleanup, and a walkthrough to ensure everything meets our standards before we consider the job complete.

A person measures and marks laminate flooring with a ruler and pencil, preparing to cut the plank. The floor has a wood-like finish, and a white underlayment is partially visible beneath the planks.

Ready to get started?

Explore More Services

About Flooring Solutions and More

Get a Free Consultation

Complete Vinyl Flooring Services

Everything Included in Professional Installation

Your vinyl flooring installation includes subfloor inspection and preparation, moisture testing, old flooring removal, and complete installation of your new floors. We handle trim work, transitions between rooms, and thorough cleanup when finished.

You’ll work with the same crew from start to finish. No subcontractors showing up who don’t know your project details. We coordinate material delivery, handle disposal of old flooring, and protect your furniture and walls during the process.

Every installation comes with our workmanship warranty plus manufacturer warranties on materials. If something goes wrong because of our work, we fix it at no charge. That’s how confident we are in getting your vinyl flooring installation right the first time.

Close-up of hands measuring and cutting a piece of wood-patterned laminate flooring with a ruler and utility knife, preparing it for installation on a white underlayment.

How long does vinyl flooring installation take in a typical room?

Most single rooms take one to two days for complete vinyl flooring installation, depending on size and subfloor condition. Larger areas like open-concept living spaces might take three to four days. The timeline includes subfloor prep, acclimation time, and installation. We don’t rush jobs to meet unrealistic deadlines because proper installation requires adequate time for each step. Weather and humidity can affect timing slightly, especially during subfloor preparation phases.
Luxury vinyl plank (LVP) is thicker, more durable, and looks more realistic than standard vinyl flooring. LVP typically ranges from 4mm to 8mm thick with multiple layers including a wear layer that resists scratches and dents. Regular vinyl is thinner and less expensive but doesn’t hold up as well to heavy traffic. In Valdasta’s climate, we usually recommend LVP because it handles temperature fluctuations better and provides better moisture protection for your subfloor.
Sometimes, but it depends on the condition and type of existing flooring. Vinyl can go over tile if it’s level, well-adhered, and not cracked. Hardwood floors need evaluation for squeaks, loose boards, and height transitions. In many cases, removing old flooring gives better long-term results because we can inspect and prepare the subfloor properly. We’ll assess your specific situation and recommend the approach that ensures your new vinyl flooring performs correctly for years.
Regular sweeping or vacuuming removes dirt that can scratch the surface over time. Damp mopping with vinyl floor cleaner handles spills and deeper cleaning. Avoid harsh chemicals, steam mops, or abrasive cleaners that can damage the wear layer. Place mats at entrances to reduce tracked-in dirt and use furniture pads to prevent scratches from moving chairs or tables. Most vinyl flooring maintenance issues come from using wrong cleaning products, so stick with manufacturer-recommended cleaners for best results.
Yes, quality vinyl flooring handles Texas climate very well. Unlike hardwood that expands and contracts significantly, vinyl remains stable through humidity changes. Waterproof vinyl planks protect your subfloor from moisture, which is crucial in Texas where humidity levels fluctuate. The key is proper installation with appropriate expansion gaps and subfloor preparation. Cheap vinyl or poor installation can still cause problems, but professional-grade materials installed correctly perform excellently in our climate conditions.
Vinyl flooring installation costs vary based on room size, subfloor condition, material choice, and complexity of the layout. Basic vinyl starts around $3-5 per square foot installed, while luxury vinyl plank ranges from $5-8 per square foot. Additional costs include subfloor repairs, old flooring removal, and trim work. We provide detailed written estimates that break down material and labor costs so you know exactly what you’re paying for. Quality installation costs more upfront but saves money long-term by preventing problems.